Most of us will say that we know our way around a computer pretty well. Usually, this just means that you know how to turn it on, open an application and complete the task that you are set out to do. If it's a letter, you can probably do that very well, even formatting your final piece into a beautiful masterpiece. It's kind of like owning a car for me. I do really well at picking one out and can even put the gas in it by myself. Oh, I also try to make sure it's cleaned up about once a week, and I'm satisfied when it really shines. All the while, I don't have a clue as to what some of the buttons are in the dashboard, not to mention the parts under the hood. That's like the Microsoft Option box in each of the applications in Microsoft’s Office Suite. Let’s take a tour through the Option Box for Microsoft Word 2016.
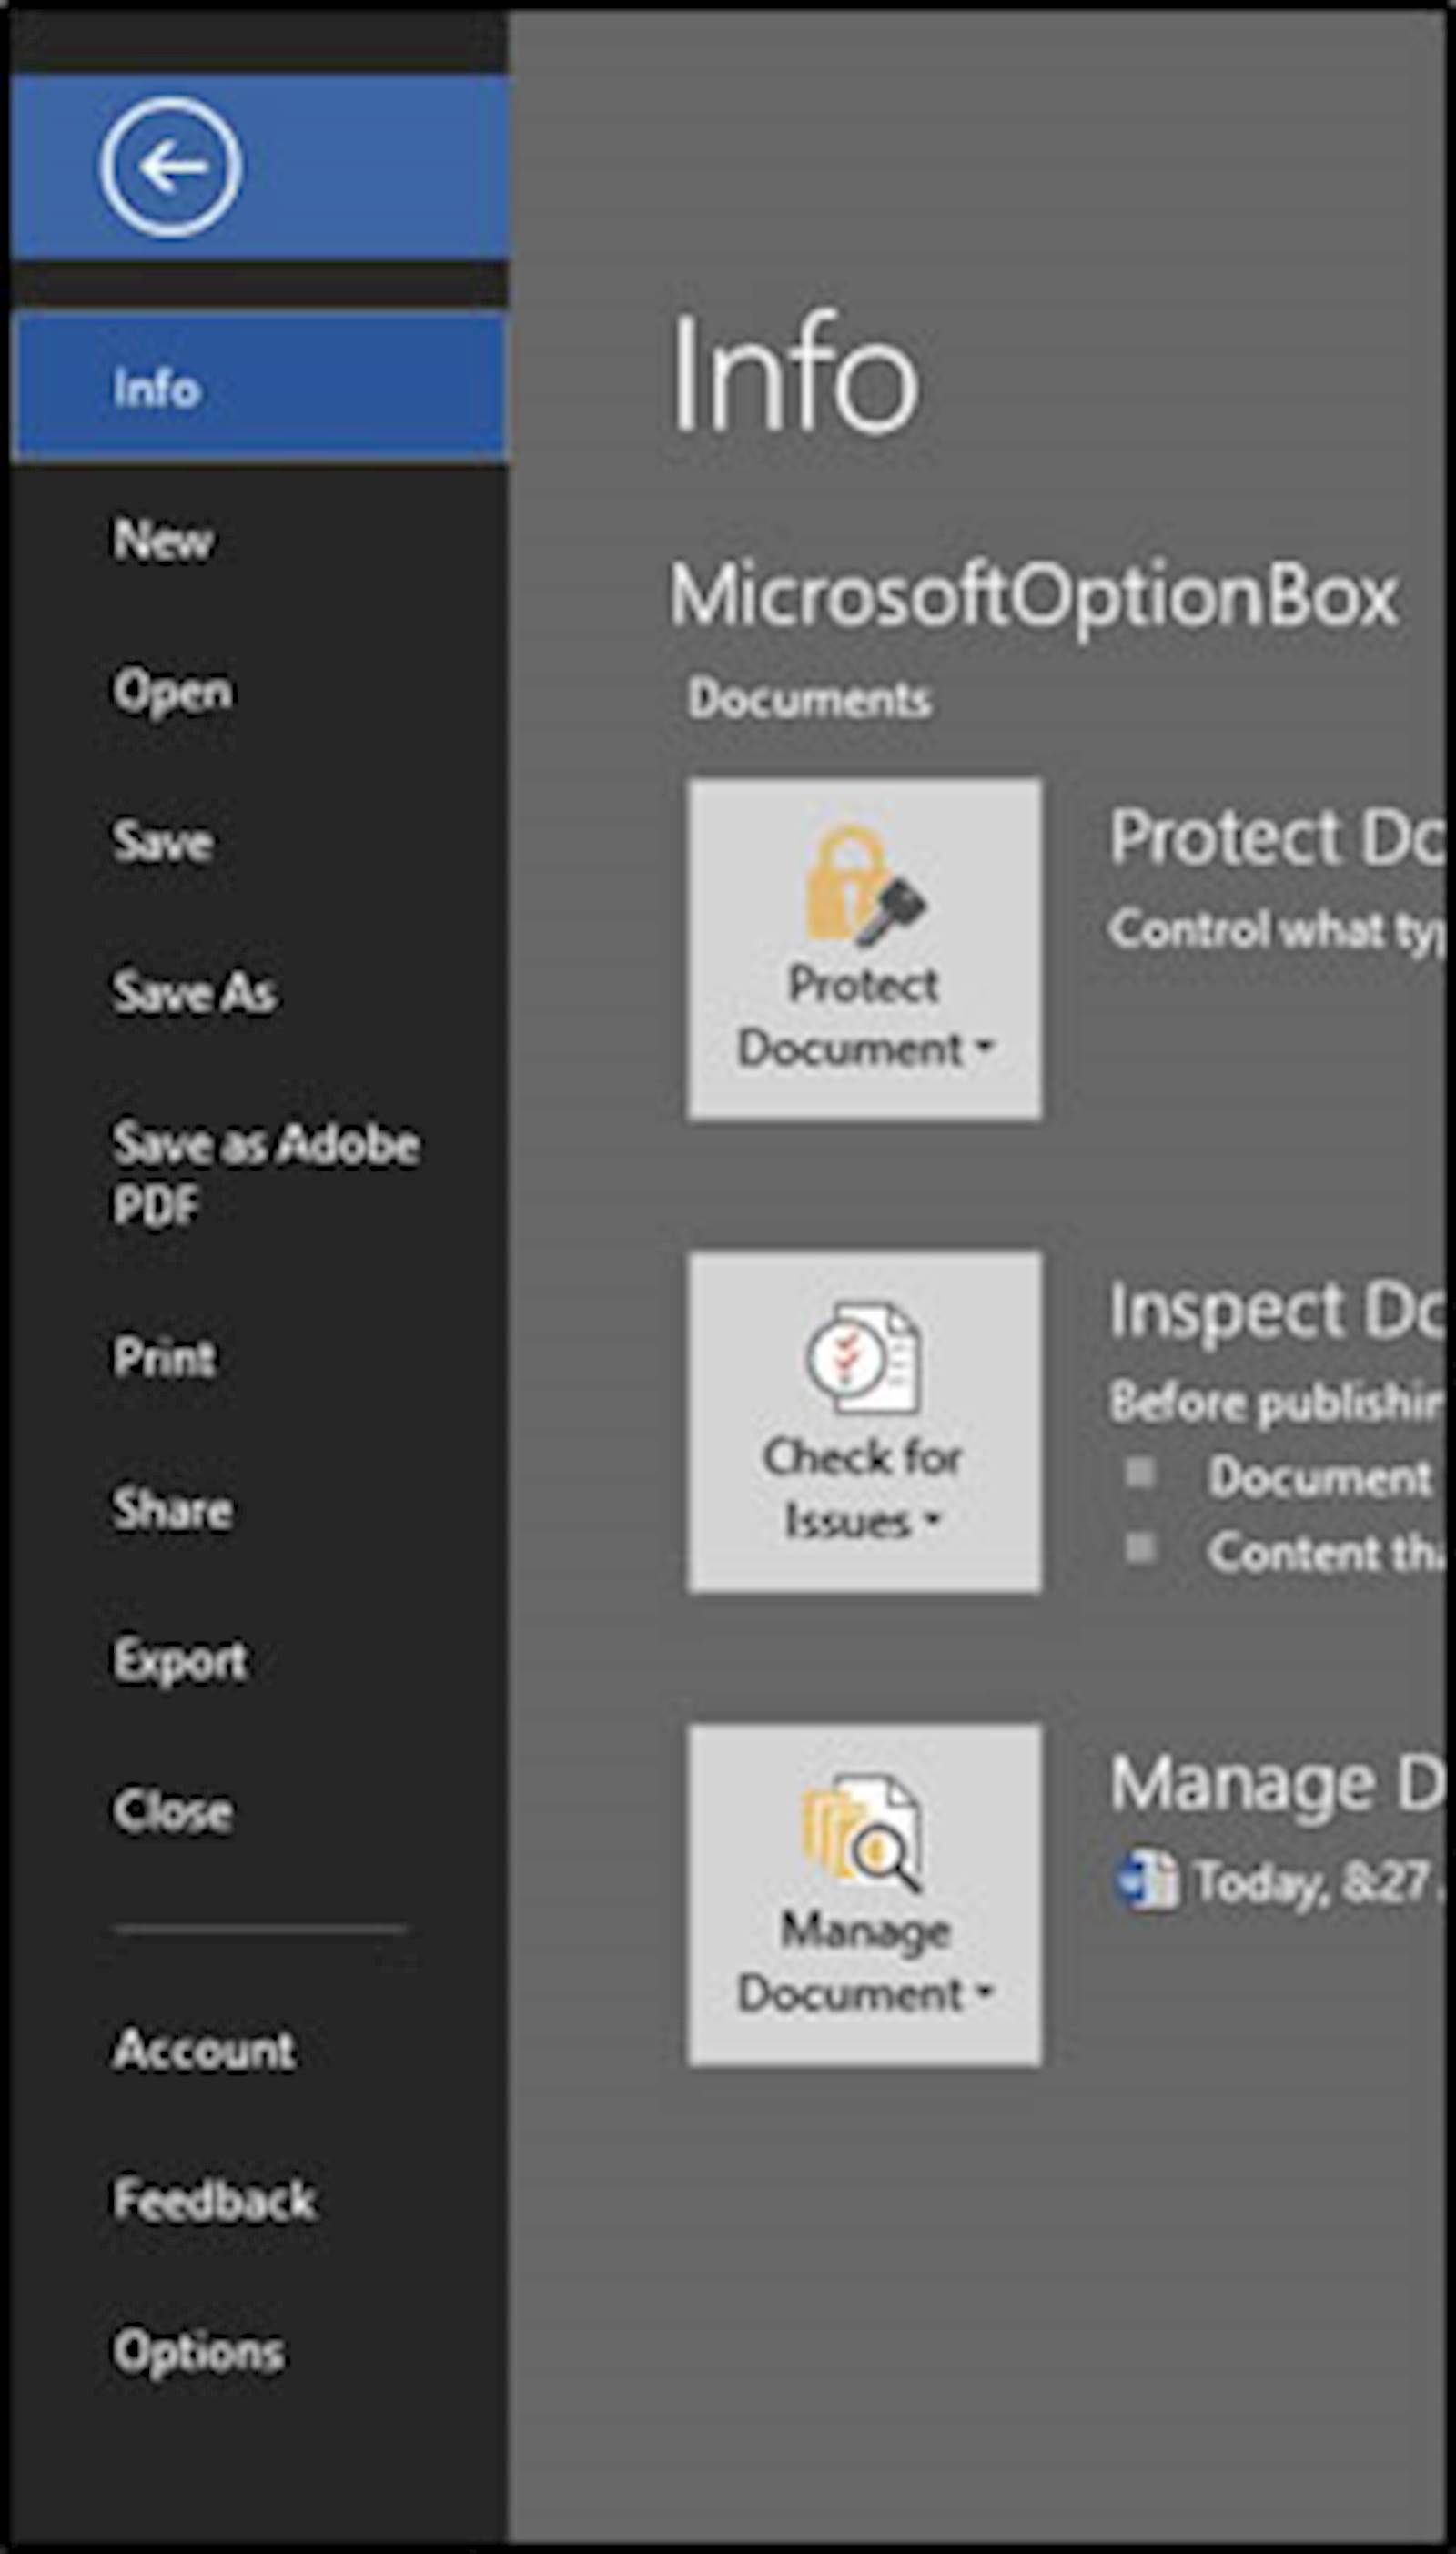 After clicking on the File tab at the top of Word, Excel, PowerPoint, etc., you will enter an area now called the "Backstage." In the old days, clicking on File just dropped down a menu to all sorts of options. Now you are taken into a whole new room, and this room is filled with settings where you can customize your computer. Don't like the same old Blue? Go modern with the Dark Gray background. Change your username, initials and even enable LinkedIn features to connect with your office apps.
The next tab, Display, includes options for what shows up on your document. If you're like me, sometimes you like to know where the tab button was pushed, but turning on paragraph marks meaning having to clutter up the document with a dot between every word as well as the paragraph symbol indicating a new paragraph was inserted. With the options on this tab, choosing which non-printing symbols show up while editing is as easy as checking a box.
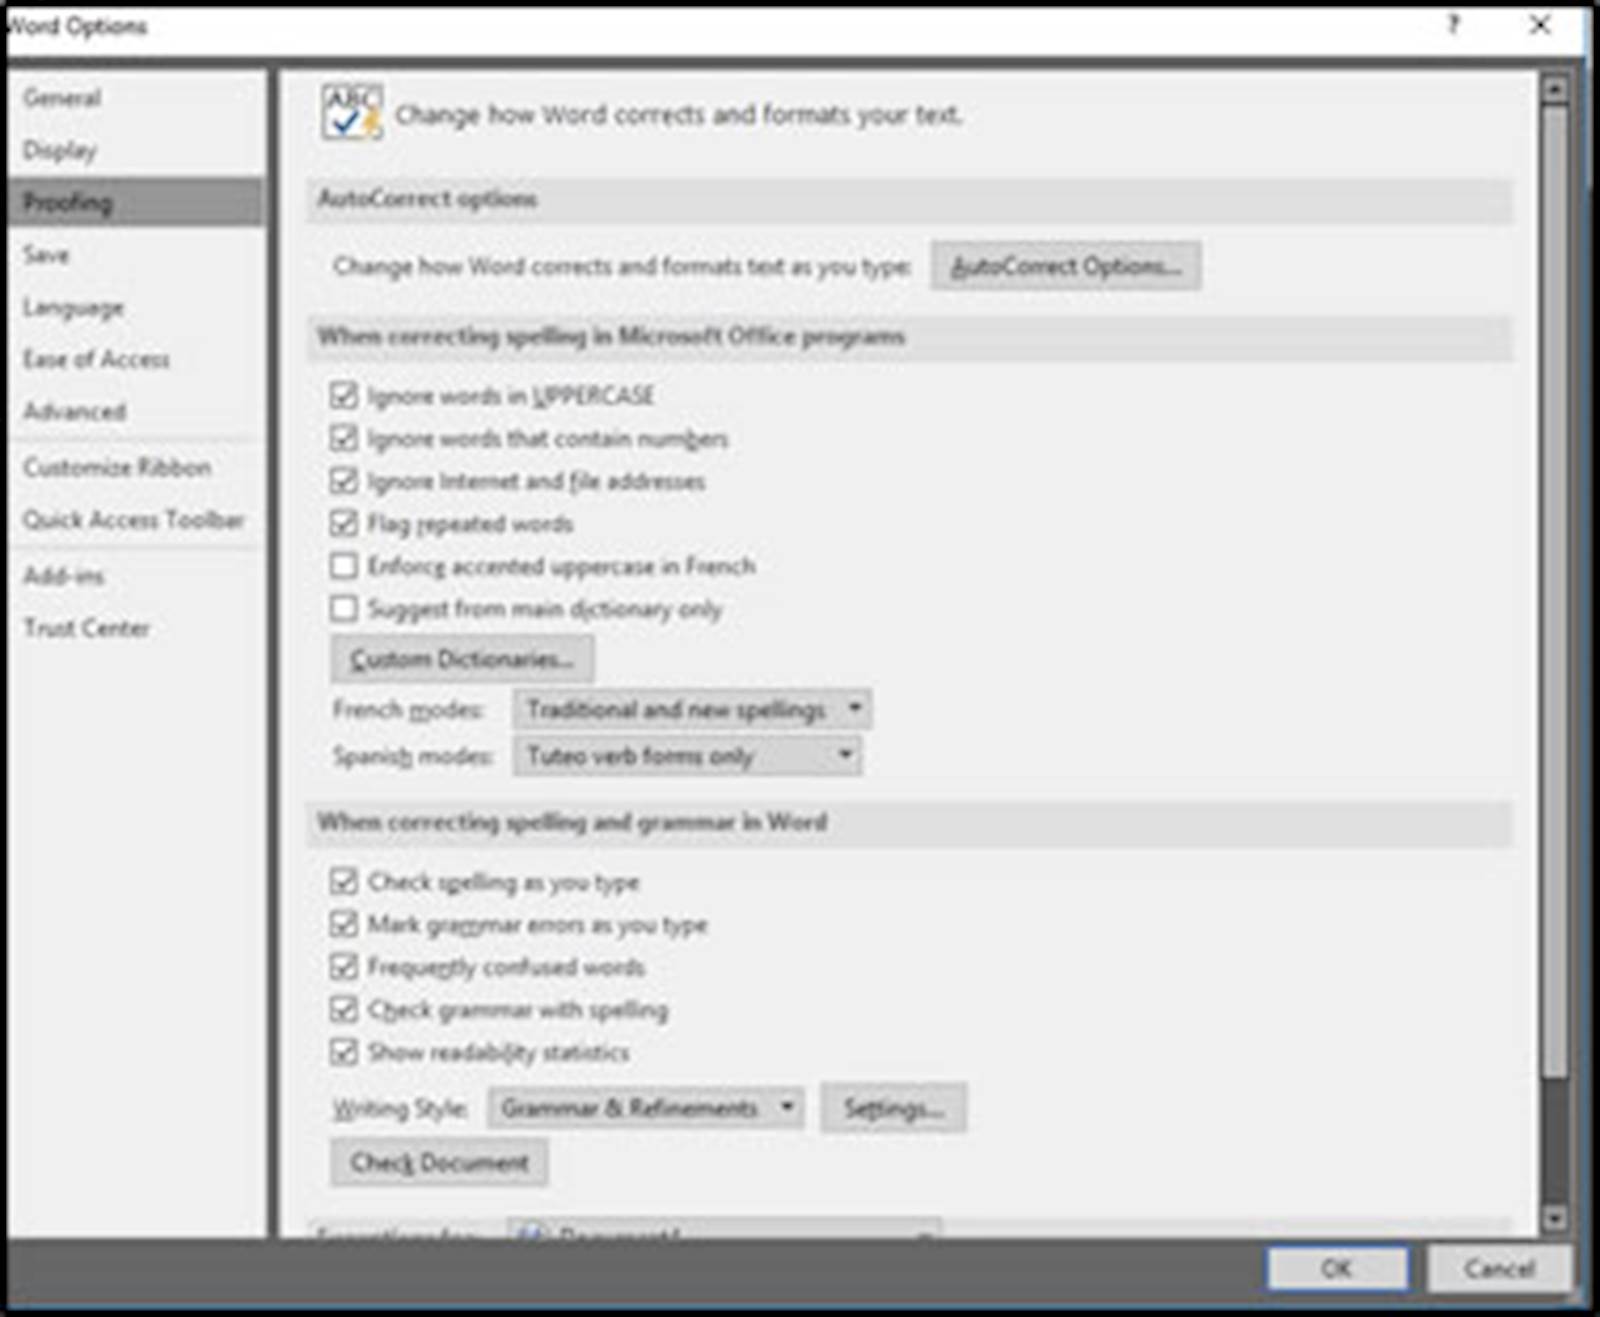
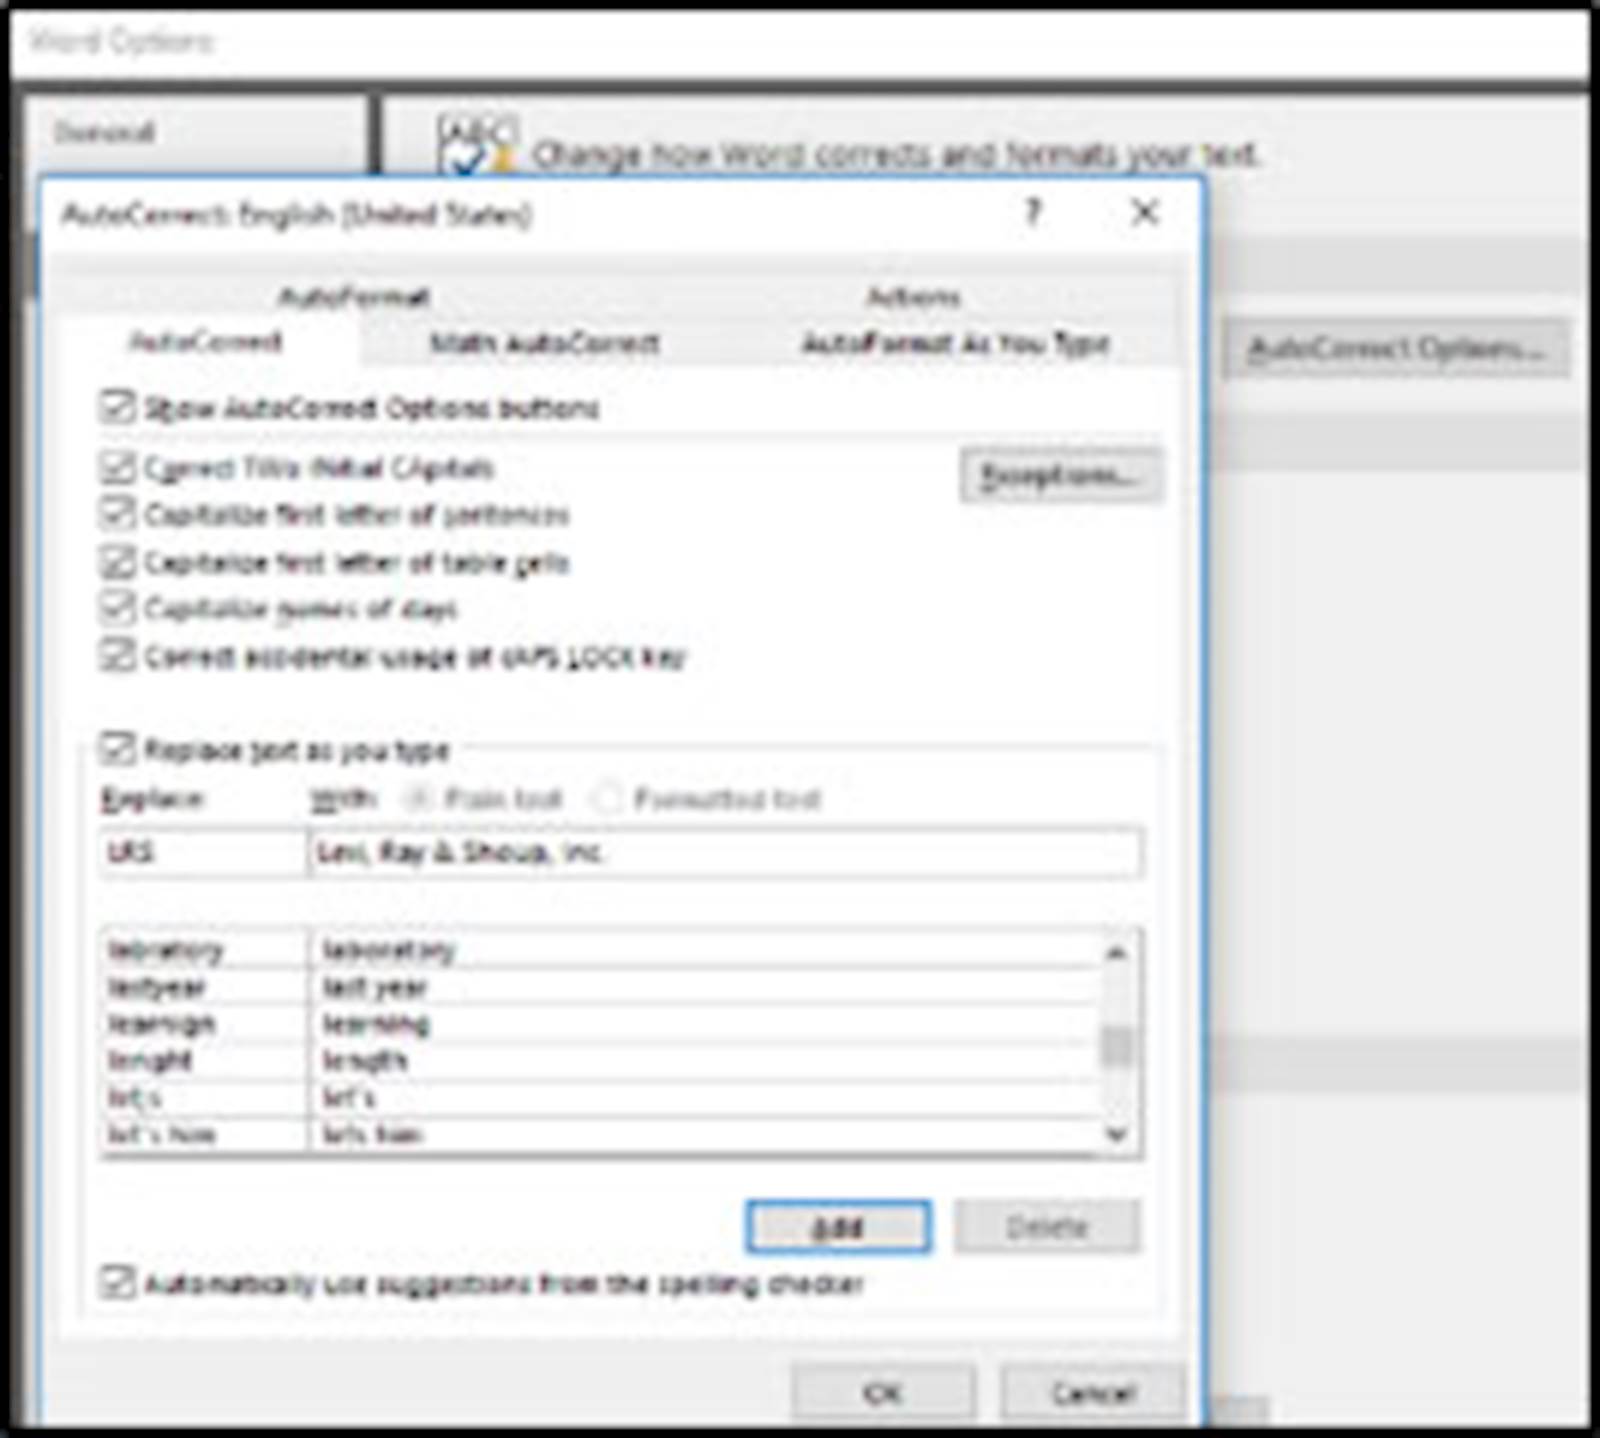
If I could have a favorite tab, I must say it is the Proofing tab. It's in here that I can customize my dictionary, set my grammar checks and ignore certain spelling errors that pop up including the name of a website since it must display as all one word. Customizing the Auto Correct is by far a choice that most of my students have never known about, much less used. On the Proofing tab, click on the Auto Correct Options button, and there you are entered into another world of user options to set or disregard. Look at the Auto Correct tab that shows up by default. As an example, I work for LRS. Sometimes, I just want to type LRS when I know I really should be spelling it all out, Levi, Ray & Shoup, Inc. Whew, that's a lot of typing though. In the replace field of the Auto Correct tab, I can insert LRS; to the right of that, I am asked what to replace that text with, and I simply type in Levi, Ray & Shoup, Inc. Now, each time I type LRS, it will show up on the page as Levi, Ray & Shoup, Inc. saving me time. Likewise, I could couple my initials with my full name, and then each time I come to the signature area of a letter I am writing, I can just type my initials, and my whole name will spell out.
 As I introduce the Save tab, think of time when you completely lost everything you just typed due to a power outage, the laptop battery going dead or just simply closing out of a file that wasn't saved. By default, Microsoft sets their recovery time to every 10 minutes. In today's fast-paced world, a lot can be lost in 10 minutes. The Save tab is where you can change that down to five minutes or even every couple of minutes. However, the most valuable setting in this area is the location of the recovered files. I'm sure many people have chalked up files to being lost, when really, they just didn't know where to look for them. Granted, the default location isn't an area we frequent, but they're there. And the good news is that you can change this location. Perhaps you create a folder in your Documents Library to catch recovered files.
The Language tab has become increasingly more important as our world has globalized. Here, dictionaries can be added to work with numerous different languages in our world. Chances are, where you're doing business, Microsoft can help with that communication gap.
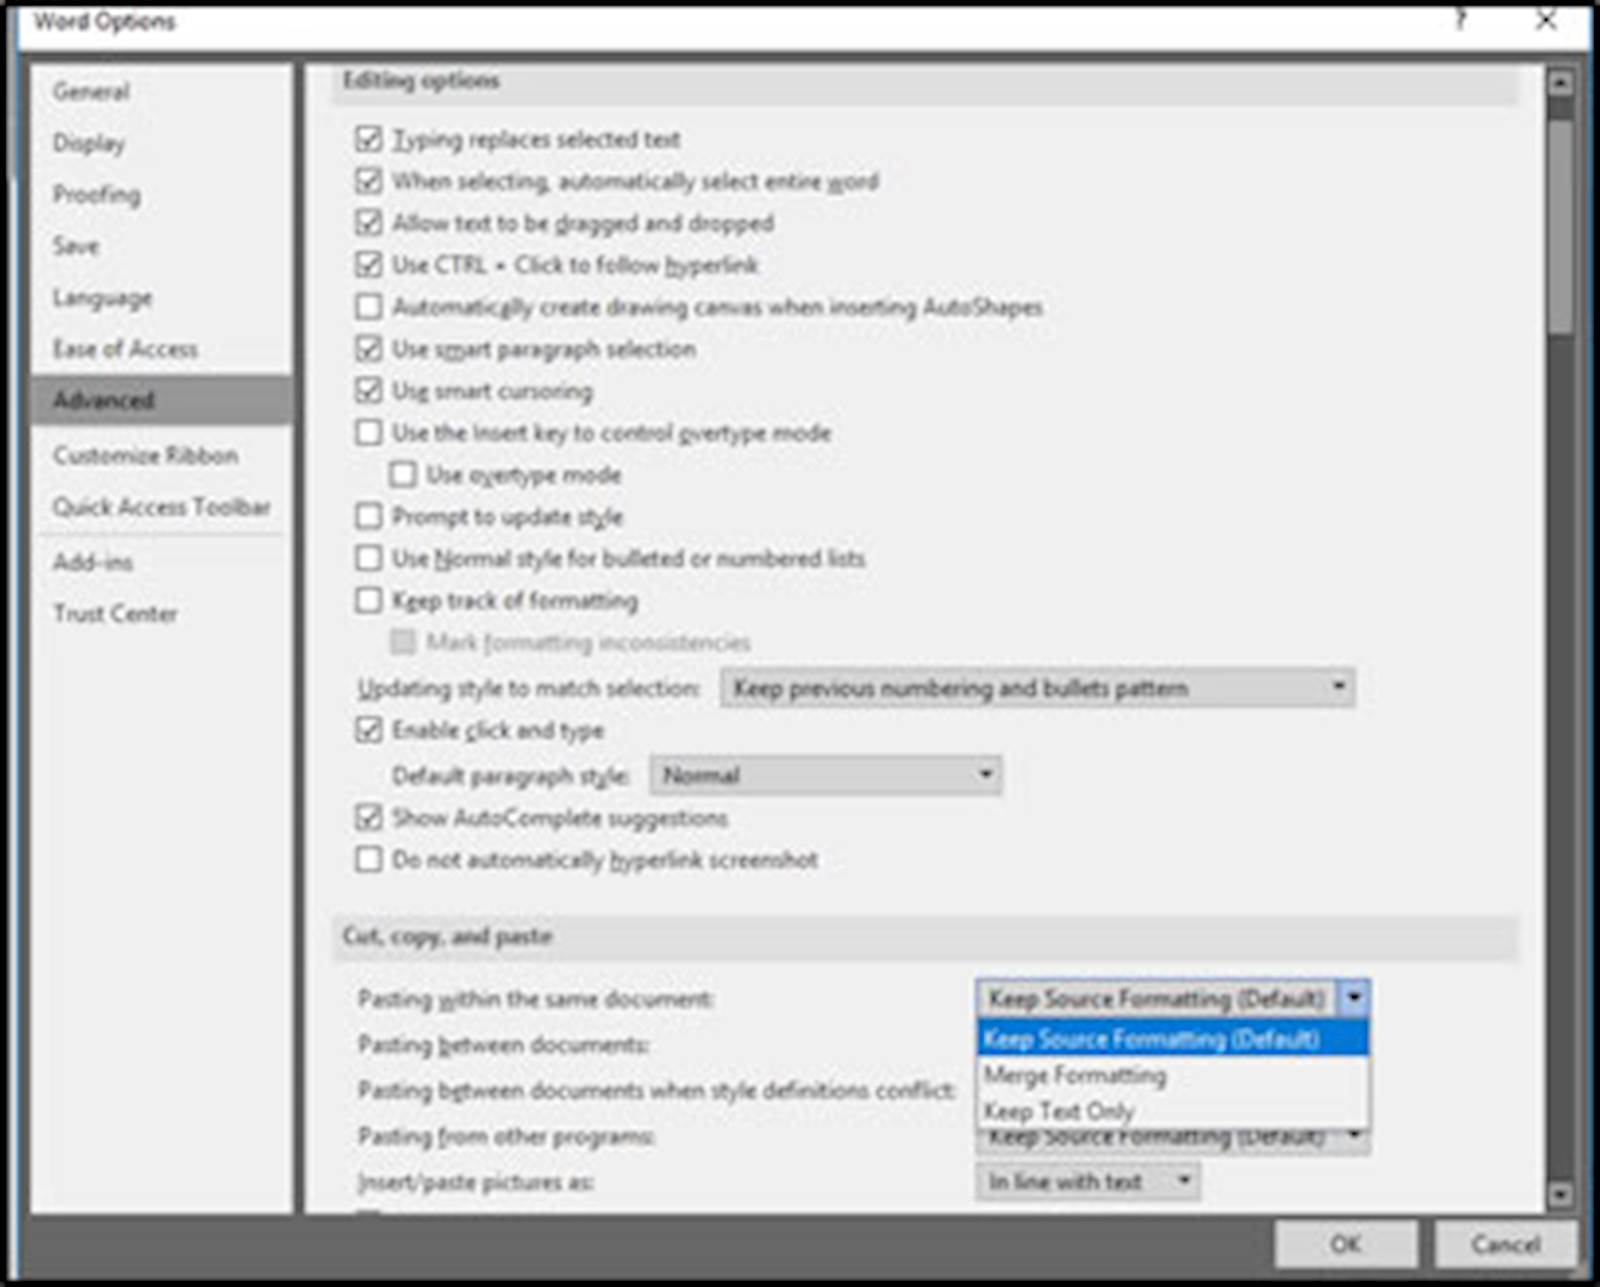 Next, the Advanced tab just has way too many features to mention. Just look at that scroll bar in the screenshot. Take a look, and customize these options to meet your needs. Whether formatting a page, using the cut, copy and paste features, or even setting the unit of measurement on the rulers, the Advanced tab has it all. True story, you are not stuck with using Inches as the only unit of measurement in Microsoft. That means even more options to choose from within the Option Box. And one last benefit on the Advanced tab, you can set how many recent documents shows up in your "Recent" window pane. Nice.
Customizing the Ribbon and the Quick Access Toolbar have never been easier than they are now. You can even create your own Category and place your own tab anywhere along the top row of Tabs. In your own category, you can include all your favorite commands right in one place. No more trying to remember where that command is hidden.
Last of all, the Add-Ins tab and the Trust Center tab require a little more than just the basic knowledge of the software. For that reason, I'll leave those to talk about later. In the meantime, go exploring. Customize your workspace, and set yourself apart from everyone else! Get to know that vehicle that drives you to success every day!
To sign up for Microsoft Word 2016 classes being offered again on August 13-15, 2018, visit LRS Microsoft Word and click into the class for the registration button. To sign up for Microsoft Excel 2016 classes being offered again July 23-25, 2018, visit LRS Microsoft Excel.
Kelly
Kelly.Cummings@LRS.com